Thursday, January 29, 2015

My One Little Word 2015

1 comments
Hello January! (That would seems much more fitting if I was writing at the beginning of January, instead of a couple days before it's end. Ha!) 

To be honest, I was really waiting for January to get here. I really was. It's not like 2014 or December were horrible & I needed them put to rest. But, I was absolutely feeling the need for a clean slate, fresh start, wiped away, wide open, kinda vibe. I always feel that way around the new year. I was ready!


I was also ready to choose a guiding word for 2015. (2013, 2012)
At first, I seemed so indecisive about even having a word or which one to choose, that I almost decided to bow out again this year (I didn't choose a word for 2014). But, I made a list of words I had swirling around in my head & took some time to think about it. Getting creative always helps too, so I made a 12 x 12 layout using some of those words I had written down.


For this layout I used me & my BIG ideas paper, stickers, & embellishments. To read about it, visit their blog right HERE!

After some creating, thinking & reading about everyone else's words...I came to a decision. I had a word. It came for me, jumped on my back and would not leave me alone. :) 


BECOME
verb 
begin to BE

There it is. My word. It really came down to three words - create, become & begin. But, in the end I choose become after I looked at some of the synonyms for the word.

emerge as, grow into, be reformed, be transformed into,
metamorphose

I mean, how great are those!? There are so many things I want to do, try, and accomplish. Sometimes I spend so much time thinking about these things I fail to follow through or actually get things done! 

2015 is the year I make intentional steps to becoming...

becoming my dreams, 
becoming what GOD has intended,
becoming healthier, 
becoming stronger,
becoming more patient, 
becoming more organized,
becoming fearless,
becoming more ____ (fill in the blank!)

There is lots to come in 2015 & I can't wait!
What is your word this year??


  If you are not familiar with One Little Word, read about it right HERE on Ali Edward's Blog.

Tuesday, December 30, 2014

DIY New Year's Eve Wine Charms

0 comments

How cute are these little wine charms? Yesterday I shared a festive 2015 banner (HERE) and today, adorable matching wine charms. They were created to add some special homemade touches to New Year's Eve, but they can be made for any occasion. All you need are a few supplies, paper from me & my BIG ideas & the possibilities are limitless. Talk about a perfect hostess or housewarming gift!

Lets get to the creating!

You will need: Bottle cap necklace charms, small washers, one inch paper punch, mambiSHEETS, one inch clear epoxy stickers (I used Spare Parts from Hobby Lobby, hot glue gun, ribbon or twine

The process was super easy and didn't take much time at all. Here it goes!

1) Punch a bunch of one inch circles out of chosen paper. Make sure each circle is different (That's how each person knows which glass is theirs!)
2) Attach epoxy sticker carefully and rub on a hard surface to lessen air bubbles
3) Attach washer to the top of the bottle cap charm
4) Use hot glue to secure the domed circle to the bottle cap
5) Tie a pretty ribbon or piece of baker's twine to each cap
6) Make as many as you want and enjoy!!


I can't wait to use my new wine charms and I think I may just 
have to make more! :)

Come visit the mambi BLOG and read about the DIY 2015 Banner right HERE!

Be sure to have a fun & SAFE New Years!
Happy Creating Friends,

Monday, December 29, 2014

DIY 2015 New Year's Eve Banner

0 comments
Hello Creative Friends!

It has been awhile since I last posted here on Sadie Inspired, but I hope your holidays were full of sparkle and cheer. My Christmas was blessed, busy, full of love AND over in a blink of an eye. How about yours? I still can't believe that 2015 is coming at us in a couple days. Wow! 

As I begin (and I mean BEGIN...it takes me daaaaays) to pack away all my holiday decor, I thought it would be fun to share a 2015 banner I made using some me & my BIG ideas goodies, ribbon, and some cracker boxes. It was quick, easy and can bring a bit of festive happiness to New Year's Eve.


What you will need: old card board box (thin), mambiSHEETS Black & White Trendy Graphic, Gold Rush Jumbo Alphas, white doilies, vellum, mambiSHEETS Gold Rush, black ribbon, Gold Glitter Scrolls from mambiCHIPS, adhesive, gold acrylic paint, white cupcake cups, hot glue gun

I used old cracker boxes to cut out four triangle shapes and painted each one with gold paint. I used a bit more paint around the edges to give the shapes a bit more depth. While the paint was drying, I stacked some papers from the mambiSHEETS Black and White pad with a white doily and a white cupcake liner. Once I liked the way it looked, I added a gold foil jumbo number to the top. Now, I just repeated the same process for the next three.

After all the numbers were finished I glued them down to the triangles. I laid them out along some black ribbon and used my hot glue gun to attach them. Finally, I added a bit of embellishment for interest. 


It really turned out cute and looks darling hanging on a shelf in my house. I always love the color combintion of black, white & gold. It is perfect for 
a New Year's celebration!

You can find all these fun supplies right HERE.

Come back tomorrow when I share some festive wine charms that match this New Year's Banner. Too cute!

Happy Creating!


Thursday, December 11, 2014

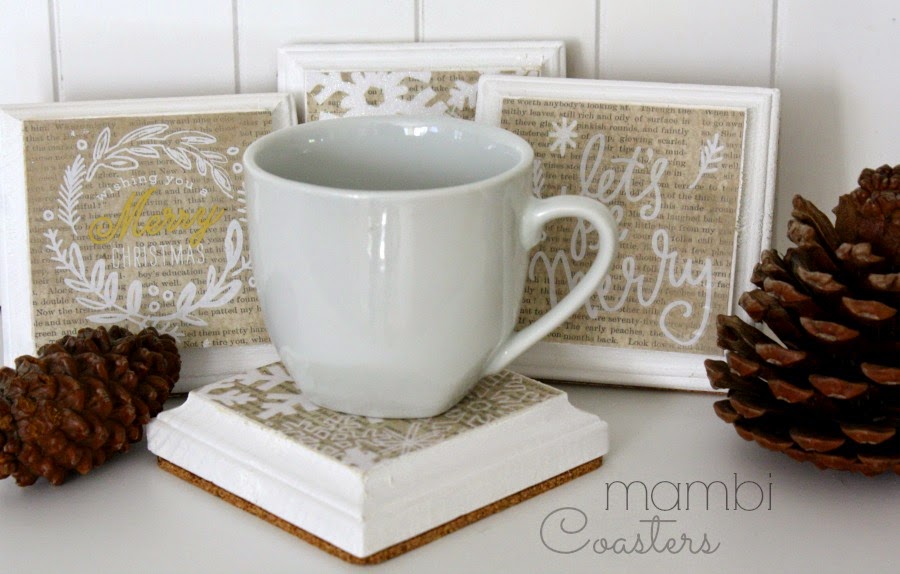
Handmade Christmas - DIY Coasters

1 comments

I love making handmade gifts for Christmas. Not only does the art or crafting of the project ease the craziness of the season, but it also brings lots love to the receiver. I always love seeing the reaction when someone special opens up a package made by hand! Are you making anything this season?

One super fun gift giving idea is making coasters! There are SO many different ways to put them together. Plus, they are super easy to make and you can pick up just about everything you need in one place (in my case Hobby Lobby). 


All I needed for this project was plain wooden coasters, paint, All That Glitters mambiSHEETS 12 x12 pad, pre-cut 4x4 cork pads, Modge Podge, and some beautiful Gold Foil mambiSTICKS. For the finishing of these beauties I used some spray protectant to keep the coasters safe from water damage and some twine. The tag was actually cut from a sheet in the mambi paper pad. 


You can see the process I used over on the mambi blog right HERE. Seriously, so fun and kids would love participating too. 


I also made these pretty coasters using a page from that same mambi paper pad. Isn't the white and gold gorgeous? I am slightly obsessed with this combo, so I fell in love with this paper! Swoon!! For these coasters I used square tiles rather than wood. Don't forget to spray these beauties with water protection too. 


I can't wait to give these to my friends. I think they will LOVE them!
Come see my project on the mambi BLOG

Happy Creating,